
Making a first video with Claude, from a web page to a local studio
A beginner's route into video: Claude writes a web page that animates, a short script records it to MP4, and five more steps lead to a local studio with pictures, clips and music.
Key takeaways
- A first video needs no graphics card: Claude writes an animated web page and a script records it frame by frame with Playwright and ffmpeg. Claude Code can install those tools itself.
- Run the recorder with the Python inside the project's .venv folder, where Playwright is installed.
- A seek function that pauses every CSS animation at a given time makes each frame repeatable.
- ComfyUI adds local pictures, then clips from those pictures, then music; Claude can drive it through its API format or an MCP server.
- Join clips only when they match exactly, upscale each clip before joining, and give the joined film a new name.
- Open WebUI puts the whole studio behind one chat window.
The first video in this guide is a 10 second sunrise that renders in about 20 seconds on an ordinary computer once the tools are installed. It needs no graphics card, no AI video model and no account beyond Claude; the setup downloads a few free tools. Claude writes a small web page that animates the sunrise, and a short Python script records that page to an MP4 one frame at a time. A roadmap of five further steps then leads from that page to a local studio that makes pictures, clips and music, and finally to a single chat window that drives all of it.
What to install
- Claude, either Claude Code in a terminal or the Claude app. Claude Code can write the files and run the commands on the computer itself.
- Python 3, the programming language the recording script runs in. The script runs inside a virtual environment: a folder named .venv that holds this project's own Python packages, kept apart from the rest of the computer.
- Playwright, a tool that drives a web browser from a script [1]. It installs into the virtual environment, together with its own copy of the Chromium browser.
- ffmpeg, the free command-line tool that turns images and sound into video files [2].
Claude Code can do this setup itself. Open a terminal in an empty folder, start Claude Code, and give it this prompt:
"Set up this folder for making videos from web pages. Check whether Python 3 and ffmpeg are installed and install whatever is missing, asking me before any command that needs an administrator password. Create a Python virtual environment named .venv in this folder, install Playwright in it, and install Playwright's Chromium browser. Finish by printing the versions of Python, Playwright and ffmpeg."
A Claude app chat that cannot reach the files on the computer can still help: ask it for the same steps as commands for the computer's operating system, then paste them into a terminal one at a time.
To go from an empty folder to a finished video in one request, paste the setup prompt and both code blocks from the next section into Claude Code, then add: "Save these blocks unchanged as film.html and render.py, run render.py with the .venv Python, check that film.mp4 is 10 seconds long at 1280 by 720, and print its full path."
Step 1 records a web page to video
A web page can already animate shapes and text with CSS, the language that styles web pages. Recording pauses the animation and steps through it one frame at a time, with a screenshot at each step. Thirty screenshots make one second of video.
The film
A prompt that produces a page like this one: "Write film.html, a 1280 by 720 web page that animates a 10 second sunrise with CSS keyframes: the sky warms, a sun rises over a hill, and the words Good morning fade in at 6 seconds. Add a function window.seek(t) that pauses every animation and jumps it to t seconds." Claude writes its own version each time; the page below is the tested one, and copying it exactly gives the same film as this guide.
<!doctype html>
<html>
<head>
<meta charset="utf-8">
<style>
  html, body { margin: 0; width: 1280px; height: 720px; overflow: hidden; background: #0b1020; }
  .sky  { position: absolute; inset: 0; background: linear-gradient(#0b1020, #23305e);
          animation: dawn 10s linear forwards; }
  .sun  { position: absolute; left: 590px; top: 760px; width: 100px; height: 100px; border-radius: 50%;
          background: #ffcc4d; box-shadow: 0 0 80px #ffb000; animation: rise 6s ease-out forwards; }
  .hill { position: absolute; left: -100px; right: -100px; bottom: -220px; height: 420px; border-radius: 50%;
          background: #1d3b2a; }
  h1    { position: absolute; width: 100%; top: 250px; margin: 0; text-align: center; color: #fff;
          font: 700 72px/1 system-ui, sans-serif; opacity: 0; animation: fade 1.5s ease-out 6s forwards; }
  @keyframes dawn { to { filter: hue-rotate(160deg) brightness(1.8); } }
  @keyframes rise { to { top: 380px; } }
  @keyframes fade { from { opacity: 0; transform: translateY(20px); } to { opacity: 1; transform: none; } }
</style>
</head>
<body>
  <div class="sky"></div>
  <div class="sun"></div>
  <div class="hill"></div>
  <h1>Good morning</h1>
  <script>
    // Pause every animation, then jump them all to time t (in seconds).
    window.seek = (t) => {
      for (const a of document.getAnimations()) { a.pause(); a.currentTime = t * 1000; }
    };
  </script>
</body>
</html>
Opening film.html in a browser plays the sunrise live. The seek function is what makes recording possible: it stops every CSS animation on the page at the requested moment. It controls CSS animations only, so a page that adds JavaScript timers, random numbers or embedded video needs those controlled as well.
The recorder
The second prompt: "Write render.py. It opens film.html in Playwright, calls seek for each frame at 30 frames per second for 10 seconds, and pipes each screenshot into ffmpeg to make film.mp4. Stop with an error if ffmpeg fails."
# Record film.html to film.mp4, one frame at a time.
# Needs Playwright with its Chromium browser, and ffmpeg.
import subprocess
from pathlib import Path
from playwright.sync_api import sync_playwright

FPS, SECONDS = 30, 10
page_url = Path("film.html").resolve().as_uri()

ffmpeg = subprocess.Popen(
    ["ffmpeg", "-y", "-f", "image2pipe", "-framerate", str(FPS), "-i", "-",
     "-c:v", "libx264", "-pix_fmt", "yuv420p", "-crf", "18", "film.mp4"],
    stdin=subprocess.PIPE)

with sync_playwright() as p:
    browser = p.chromium.launch()
    page = browser.new_page(viewport={"width": 1280, "height": 720})
    page.goto(page_url)
    for frame in range(FPS * SECONDS):
        page.evaluate(f"seek({frame / FPS})")
        ffmpeg.stdin.write(page.screenshot(type="png"))
    browser.close()

ffmpeg.stdin.close()
if ffmpeg.wait() != 0:
    raise SystemExit("ffmpeg failed, so film.mp4 is not finished")
print("wrote film.mp4")
Save both files in the folder that holds .venv, then run the script with the Python inside it. On macOS or Linux the command is .venv/bin/python render.py; in Windows PowerShell it is .venv\Scripts\python.exe render.py. On the test machine the script recorded 300 frames into a 10 second, 1280 by 720 MP4 in 17 to 19 seconds across three runs, using only the processor. film.mp4 then sits in the same folder and opens in any video player. The film at the top of this page is that file.
Why start here
With the same browser, fonts and settings, the same page renders the same video again, frame for frame. Changing the film means asking Claude for a change in plain words: a slower sun, a second line of text, a different colour. Title cards, animated charts, explainers and product demos all come out of this method, and the team's own launch videos use it at full length.
Five steps toward a local studio
Step 1 draws everything in code. The next five are a roadmap, with links to the full instructions for each tool. Steps 2 and 3 add AI models that run on a local machine with a capable graphics card; music and finishing can be tried in any order once there are clips to work with. Claude can help with every one of them.
Step 2 installs ComfyUI and makes a picture
ComfyUI is a free, open source app for running image and video models on a local machine. Its documentation covers installation for each operating system and the hardware it needs [3]. Ask Claude to check the computer's graphics card and its memory before choosing what to install. A workflow in ComfyUI is a chart of connected boxes: load a model, write a prompt, generate, save. The app ships ready-made workflow templates. Start with a small text to picture template, download each model file it asks for, type a prompt and press Run. Claude is useful here for reading error messages and finding the right model files. Keep the first working workflow before trying video.
Step 3 turns a picture into a clip
Open video models such as Wan and LTX-Video have ComfyUI templates. The image to video templates take a picture from step 2 and a short description of the motion, and return a few seconds of video. Video usually needs much more graphics memory and time than a picture, so start small: a short clip at a modest size, then grow from there. Describe what moves and how the camera moves, and give each shot only the action its seconds can show.
Step 4 lets Claude drive ComfyUI
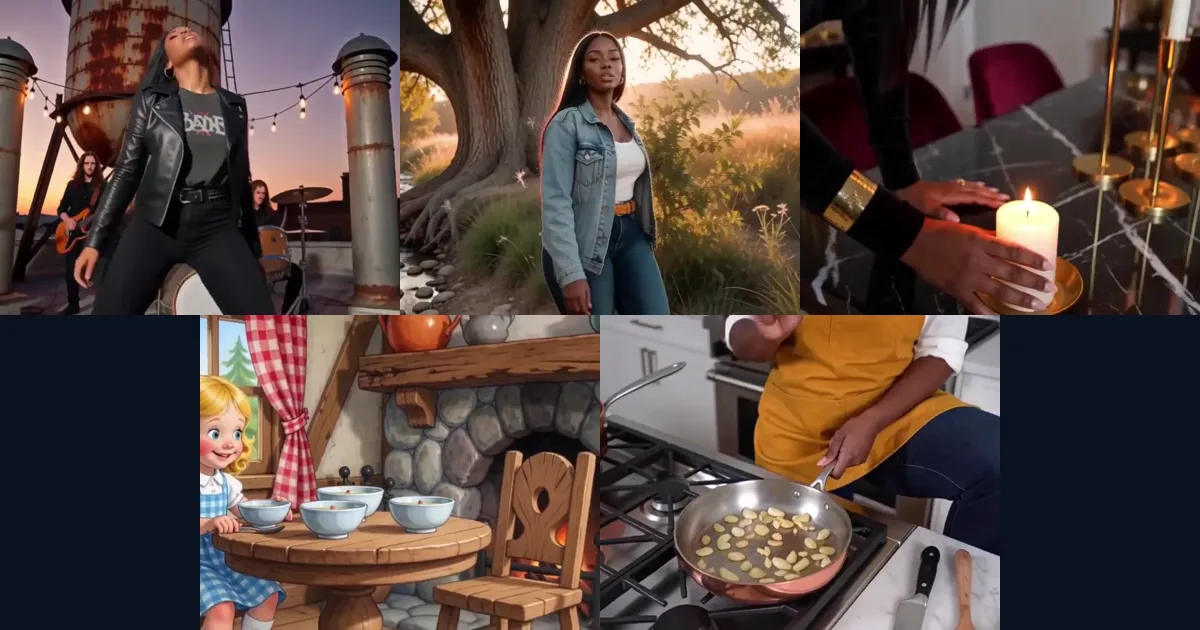
ComfyUI can export a working workflow in its API format, a JSON file (structured plain text) that a script can send to the running app. Claude can then write a script that swaps in a new prompt, submits the job, waits for it and collects the result, the same way render.py drives the browser. The models and add-ons the workflow uses have to be installed on that machine. A further stage connects Claude to ComfyUI through the Model Context Protocol (MCP), a standard way for an AI assistant to use outside tools. That needs an MCP server for ComfyUI and a few lines of configuration in Claude Code. The music video article shows Claude making five videos this way without anyone touching the ComfyUI screen [4].
Step 5 adds music
Open music models such as ACE-Step also run in ComfyUI and make a track from a description of style, tempo and mood. For background music, choose the instrumental setting or leave the lyrics empty. Save the track as music.wav beside film.mp4, at least as long as the film. ffmpeg then puts the track under the film, evens out its overall loudness and fades it out at the end:
ffmpeg -i film.mp4 -i music.wav -map 0:v -map 1:a -c:v copy -c:a aac -af "loudnorm=I=-16,afade=t=out:st=8:d=2" -shortest film-with-music.mp4Loudness here is measured in LUFS, a scale of how loud audio sounds to people; -16 is this example's target. The fade starts at 8 seconds and lasts 2, which suits a 10 second film. For a longer film, join the clips first and move the fade to the last two seconds. Music shorter than the film cuts the film short.
Step 6 joins the clips and finishes the film
A film is a row of short clips. ffmpeg can join clips without encoding them again when they match exactly: same size, frame rate and video format, and either all with sound or all without [2]. Claude can check that before joining. Save a plain text file named list.txt beside the clips, with one line such as file 'clip1.mp4' for each clip in playing order, then run ffmpeg -f concat -safe 0 -i list.txt -c copy joined.mp4. Give the result a new name, so no clip is overwritten. To make the picture larger and sharper, run an upscaler on each clip before joining, after testing it on one short clip; the team's long upscales run reliably only clip by clip. Title cards from step 1 can sit between the AI clips when they are rendered at the same size and frame rate.
Bringing it together in one chat
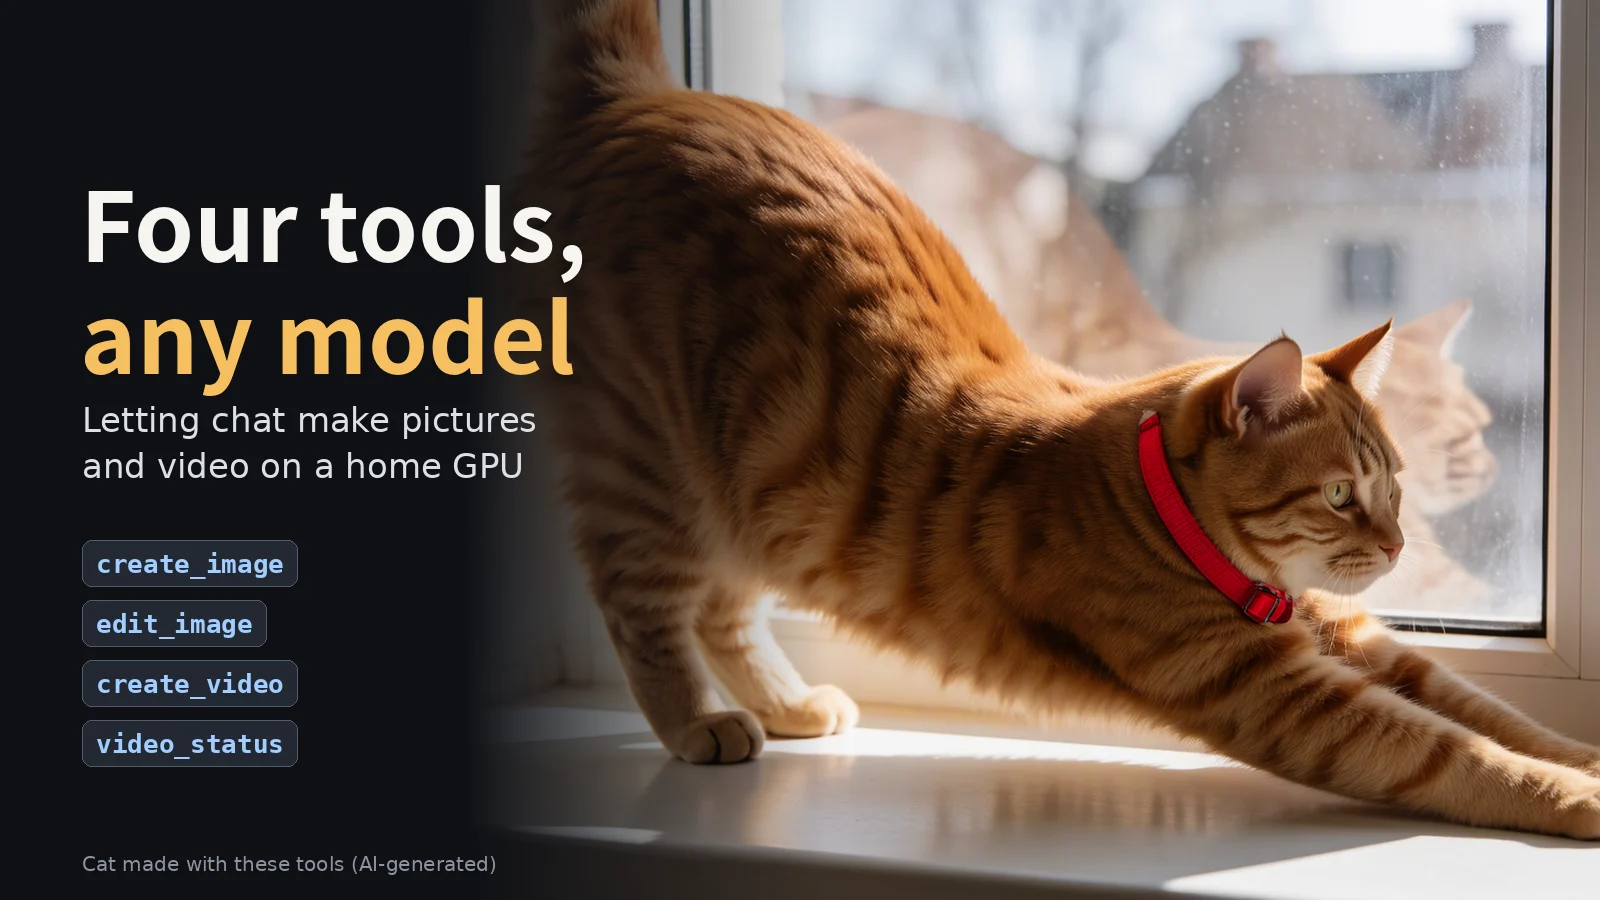
After step 6 the pieces of a local studio are in place: ComfyUI for pictures, clips and music, ffmpeg for finishing, and Claude writing the glue. The last move puts all of it behind one chat window. Open WebUI is a free chat app that can give a chat model with tool support a small set of tools. The four tools article shows the full recipe [5]: four thin tools in front of one image and video service, so a chat model can make a picture, edit it and start a clip from a phone.
The guide's two files, film.html and render.py, are the starting kit. The next step is step 2: install ComfyUI and render one picture from a small template.
Sources
Related reading
 Studio · October 28, 2026
Five videos from one MCP: an agent drives the VRGDG Music Video Builder
I gave Claude Code the MCP server that ships with the VRGDG nodes for ComfyUI and let it make the videos itself on one NVIDIA DGX. No one touched the Builder UI. It made rock, country and R&B music videos, a narrated Goldilocks and a cooking show. This entry has all five, what worked, what broke, and the runbooks to do it again.
 Article · November 7, 2026
Four tools, any model: letting chat make pictures and video on a home GPU
A recipe for letting any chat model in Open WebUI make pictures and short videos on a local GPU workstation: four thin tools in front of one image and video API, one model preset per chat model, and a phone as the front end.
 Studio · November 14, 2026
Animated explainer videos from a chat, on an ordinary computer
A small MCP server lets Claude turn a topic into a narrated, animated explainer video in about two minutes, using only the processor of an ordinary computer.